Linux Setup for v12
Table of Contents
Requirement and additional packages
- Recommended OS: Instal l Rocky Linux 9.2 x86_64
- Install additional Packages
yum install -y tar pinentry net-snmp net-snmp-utils net-tools telnet openssh openssh-clients ftp expect wget traceroute unzip zip vim openssl
Installation of ElasticSearch
-
Install Elasticsearch:
wget https://artifacts.elastic.co/downloads/elasticsearch/elasticsearch-8.11.4-x86_64.rpm --no-check-certificateyum localinstall --disablerepo=* elasticsearch-8.11.4-x86_64.rpm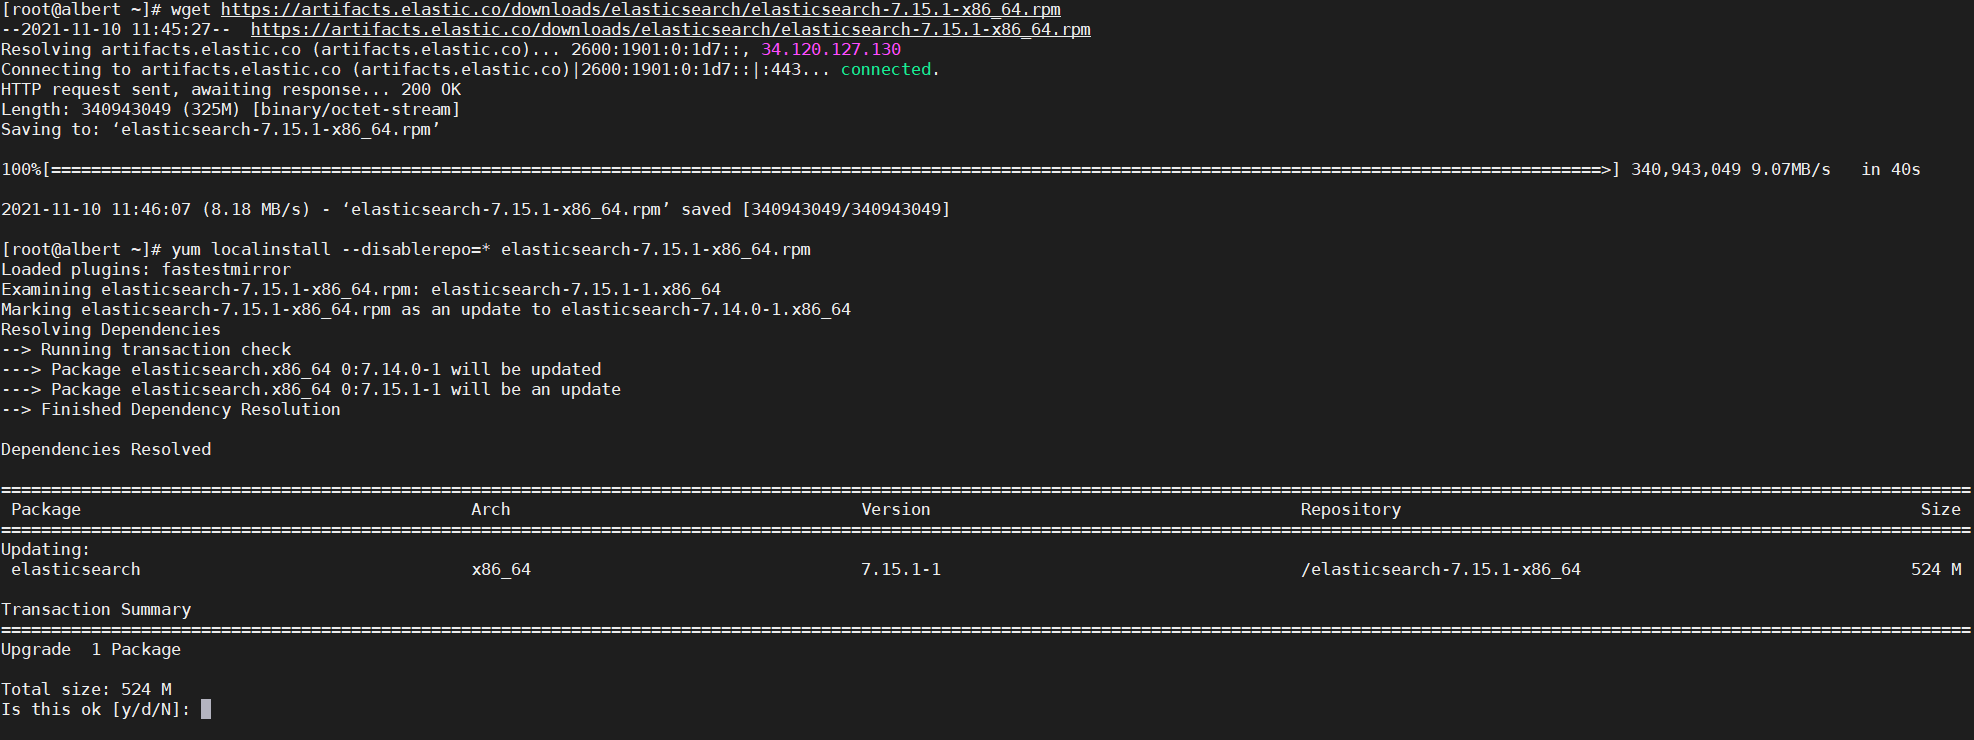
-
Authentication is auto-enabled in new ElasticSearch v8.x.x and take note of the generated random password (underlined) during installation:
-
Authentication and authorization are enabled.
TLS for the transport and HTTP layers is enabled and configured.
The generated password for the elastic built-in superuser is : t_uYH54WkAddVJ8qAK9s
If this node should join an existing cluster, you can reconfigure this with ‘/usr/share/elasticsearch/bin/elasticsearch-reconfigure-node –enrollment-token
’ after creating an enrollment token on your existing cluster. You can complete the following actions at any time:
Reset the password of the elastic built-in superuser with
'/usr/share/elasticsearch/bin/elasticsearch-reset-password -u elastic'.Generate an enrollment token for Kibana instances with
'/usr/share/elasticsearch/bin/elasticsearch-create-enrollment-token -s kibana'.Generate an enrollment token for Elasticsearch nodes with
'/usr/share/elasticsearch/bin/elasticsearch-create-enrollment-token -s node'.
### NOT starting on installation, please execute the following statements to configure elasticsearch service to start automatically using systemd
sudo systemctl daemon-reload
sudo systemctl enable elasticsearch.service
### You can start elasticsearch service by executing
sudo systemctl start elasticsearch.service
-
-
Edit the jvm.options to change the heap size:
vi /etc/elasticsearch/jvm.options-
Change below for min and max heap size, for below the physical RAM of the server is 3GB:
-
Please note that the heap size cannot exceed the 50% of total RAM you have in server.
-
if your server is 16GB, likely this min and max heap size can be set as 4GB
-Xms4g ## 1Gb is the minimum heap size
-Xmx4g ## 1Gb is the maximum heap size
-
-
Edit the configuration file of elasticsearch
vi /etc/elasticsearch/elasticsearch.yml -
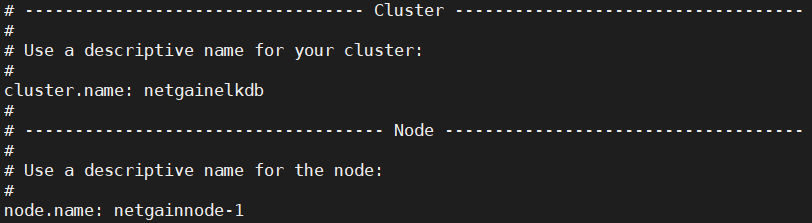
Input below parameter
cluster.name: netgainelkdb # this is to define a cluster name
node.name: netgainnode-1 #this is to define a node name
network.host: 127.0.0.1 #this is the IP address that the localhost or other server going to contact with elasticsearch.
discovery.type: single-node
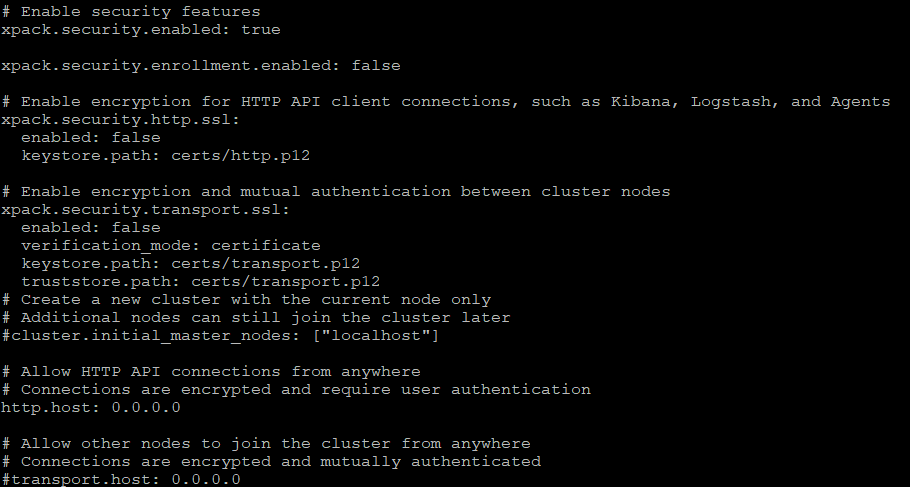
# Enable security features
xpack.security.enabled: true
xpack.security.enrollment.enabled: false
# Enable encryption for HTTP API client connections, such as Kibana, Logstash, and Agents
xpack.security.http.ssl:
enabled: false
keystore.path: certs/http.p12
# Enable encryption and mutual authentication between cluster nodes
xpack.security.transport.ssl:
enabled: false
verification_mode: certificate
keystore.path: certs/transport.p12
truststore.path: certs/transport.p12
# Create a new cluster with the current node only
# Additional nodes can still join the cluster later
#cluster.initial_master_nodes: ["localhost"]
# Allow HTTP API connections from anywhere
# Connections are encrypted and require user authentication
http.host: 0.0.0.0
# Allow other nodes to join the cluster from anywhere
# Connections are encrypted and mutually authenticated
#transport.host: 0.0.0.0
** change the details of the underlined bold using the above settings

-
start and enable service on boot
systemctl enable --now elasticsearch.service -
verify status
systemctl status elasticsearch.service -l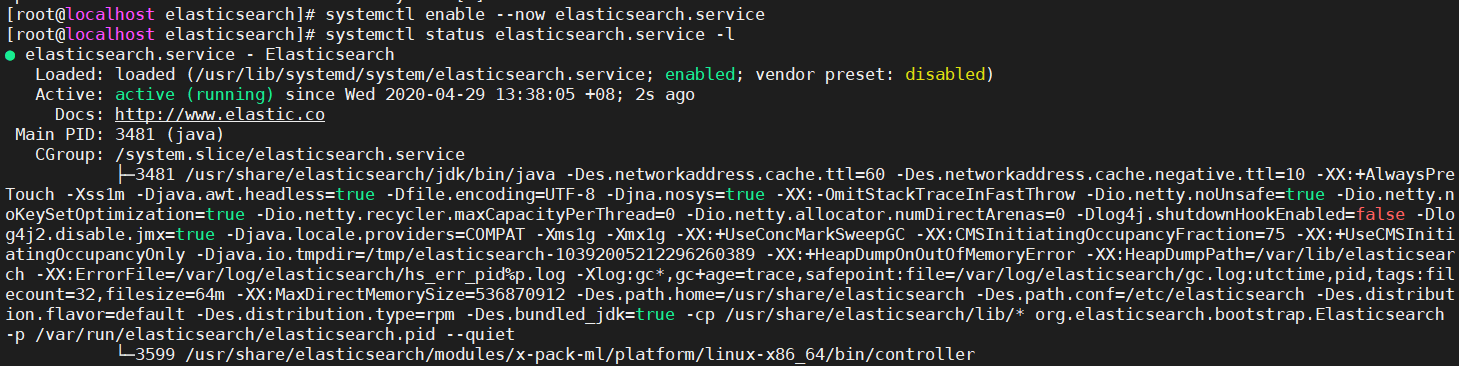
-
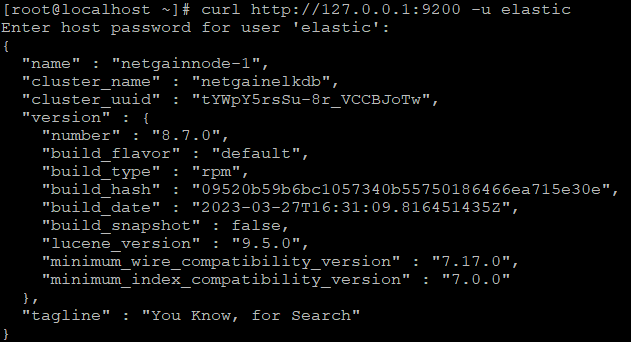
Verify security password
curl http://127.0.0.1:9200 -u elasticwhereas it will ask for the generated built-in password
-
Optional to manually change the ES password:
cd /usr/share/elasticsearch./bin/elasticsearch-reset-password -u elastic -i
Installation of NetGain EM
Download link: https://drive.google.com/file/d/16CX1TXhzT7kUhrjhfZyaMrKfmmKVdicX/view?usp=sharing
winscp to your appliance and copy the download base v12 software to root directory
tar -xzvf netgainBASE_v12.2.148.tar.gz --absolute-names
Note: please use above exact command, otherwise the license will have issues that causes process not able to start.
export PATH=/root/netgain/jre/bin:$PATH
Java version "1.8.0_311"
Java(TM) SE Runtime Environment (build 1.8.0_311-b11)
Java HotSpot(TM) 64-Bit Server VM (build 25.311-b11, mixed mode)

Tomcat version: v9.0.73
service firewalld stop
vi /etc/rc.local
touch /var/lock/subsys/local
systemctl stop firewalld
export NG_LICENSE_BY_MACADDR=1
export IOSS_HOME=/root/netgain
export NETGAIN_SERIAL=NGSG2209001
export EM_MODEL=EM-BASE
export EM_CUSTOMER_NAME=Customer_name
su - root -c "$IOSS_HOME/bin/agent_start.sh"
systemctl start elasticsearch.service
su - root -c "$IOSS_HOME/bin/box.sh"
example:
NGSG2209001 should be change to your own serial key
whereas:
NG – NetGain (partner/customer name) SG – Singapore (country) 22 – 2022 (year) 09 – Sept (month) 001 – running number
EM-BASE-Demo
whereas:
Demo - base model of the license
chmod +x /etc/rc.d/rc.local
systemctl enable rc-local
systemctl start rc-local
vi /etc/sysconfig/i18n
LANG="en_US.UTF-8"
SYSFONT="latarcyrheb-sun16"
SUPPORTED="en_US.UTF-8:en_US:en"
vi /etc/ng.conf
export SKIP_WDT=1
export CHARSET=en_US
export MAX_MEM=1000 #change 50 - 70% of your VM total RAM
export NG_LICENSE_BY_MACADDR=1
JAVA_OPTS="${JAVA_OPTS} -Delk=1"
JAVA_OPTS="${JAVA_OPTS} -Delasticsearch_ip=127.0.0.1"
hwclock --set --date='12/22/2014 14:35'
date -s "22 December 2014 14:35"
yum install chrony
timedatectl set-ntp yes
service chronyd start
(*NTP is another option for auto date and time: ntpdate pool.ntp.org)
vi /etc/resolv.conf
nameserver 8.8.8.8
customer DNS should be put after nameserver
crontab -e
#* * * * * /root/netgain/bin/check_box.sh
#*/15 * * * * /root/netgain/bin/ha/standby.sh
10 0 * * * mon sync; echo 3 > /proc/sys/vm/drop_caches
0 6 * * * find /var/log/iossd* -mtime +30 -delete
Note: this command is to check if NetGain is inaccessible and it will auto restart the service (remember to remove the # to activate)
export NG_LICENSE_BY_MACADDR=1
echo $NG_LICENSE_BY_MACADDR
Copy paste below output on notepad, save and Email to NetGain team to request for license
/root/netgain/bin/run.sh netgain.sac.Register
Paste the contents of license from NetGain team to license.txt
vi /root/netgain/bin/license.txt
Please ask NetGain support email for the latest patch file.
Copy the latest patch to /root directory.
** dnf install pinentry (for Rocky Linux 9)
gpg -d <patchname>.tar.gz.gpg > <patchname>.tar.gz
gpg password: netgain1428117
Untar the patch on “/root”
tar -xzvf <patch filename>.tar.gz
export PATH=/root/netgain/jre/bin:$PATH
And need to add this command globally to /etc/profile and /root/.bash_profile and /root/.bashrc
vi /root/netgain/conf/admin/config_customize.xml
<config key="elasticsearch_password" value="t_uYH54WkAddVJ8qAK9s"/>
/root/netgain/bin/box.sh
tail -200f /var/log/iossd.log to check EM process running status
Please email NetGain support for further assistance:
support@netgain-systems.com